Personalized apparel, previewed on your own garment photos
Shoppers type a name, pick a font or upload a photo, and see it printed on your shirt as they go. You get one print file per side, at the size your printer works to.
Design a tee, right here
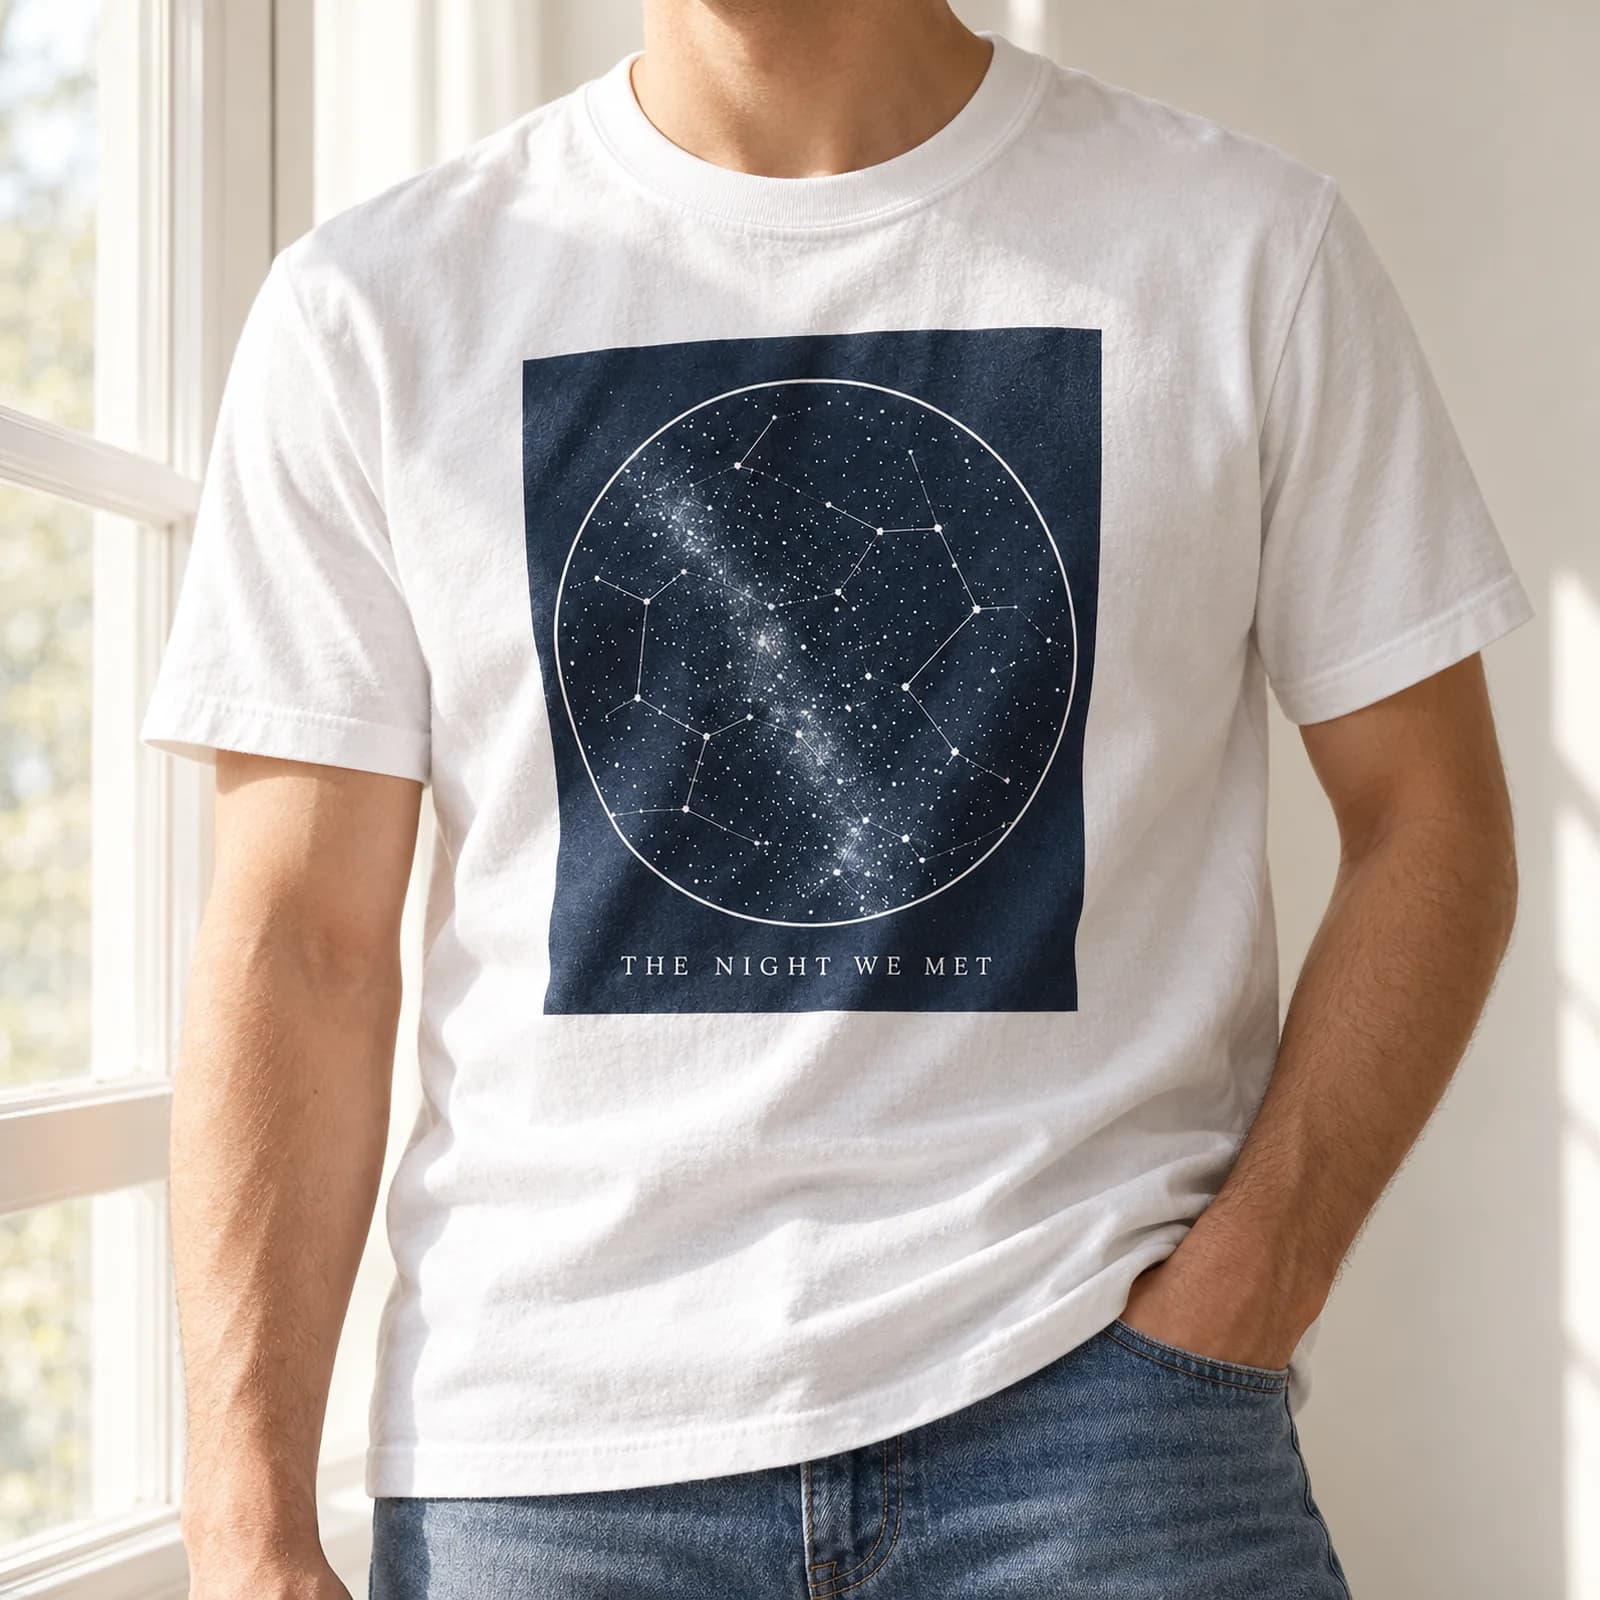
Change the name, the font and the ink. The print turns with the shirt and the folds show through it.
The print is placed on the chest, turned with the shirt, and blended so the folds show through the ink. The shirt is a stock photo standing in for your own product photography.
Setting it up
What you would use for apparel.
The parts of Customei that matter for this kind of product, and which plan they need.
- Start at print size
- The T-shirt preset is 14 × 16 in and the tote bag 15 × 16 in. Or type the size your printer uses.
- Front and back as separate files
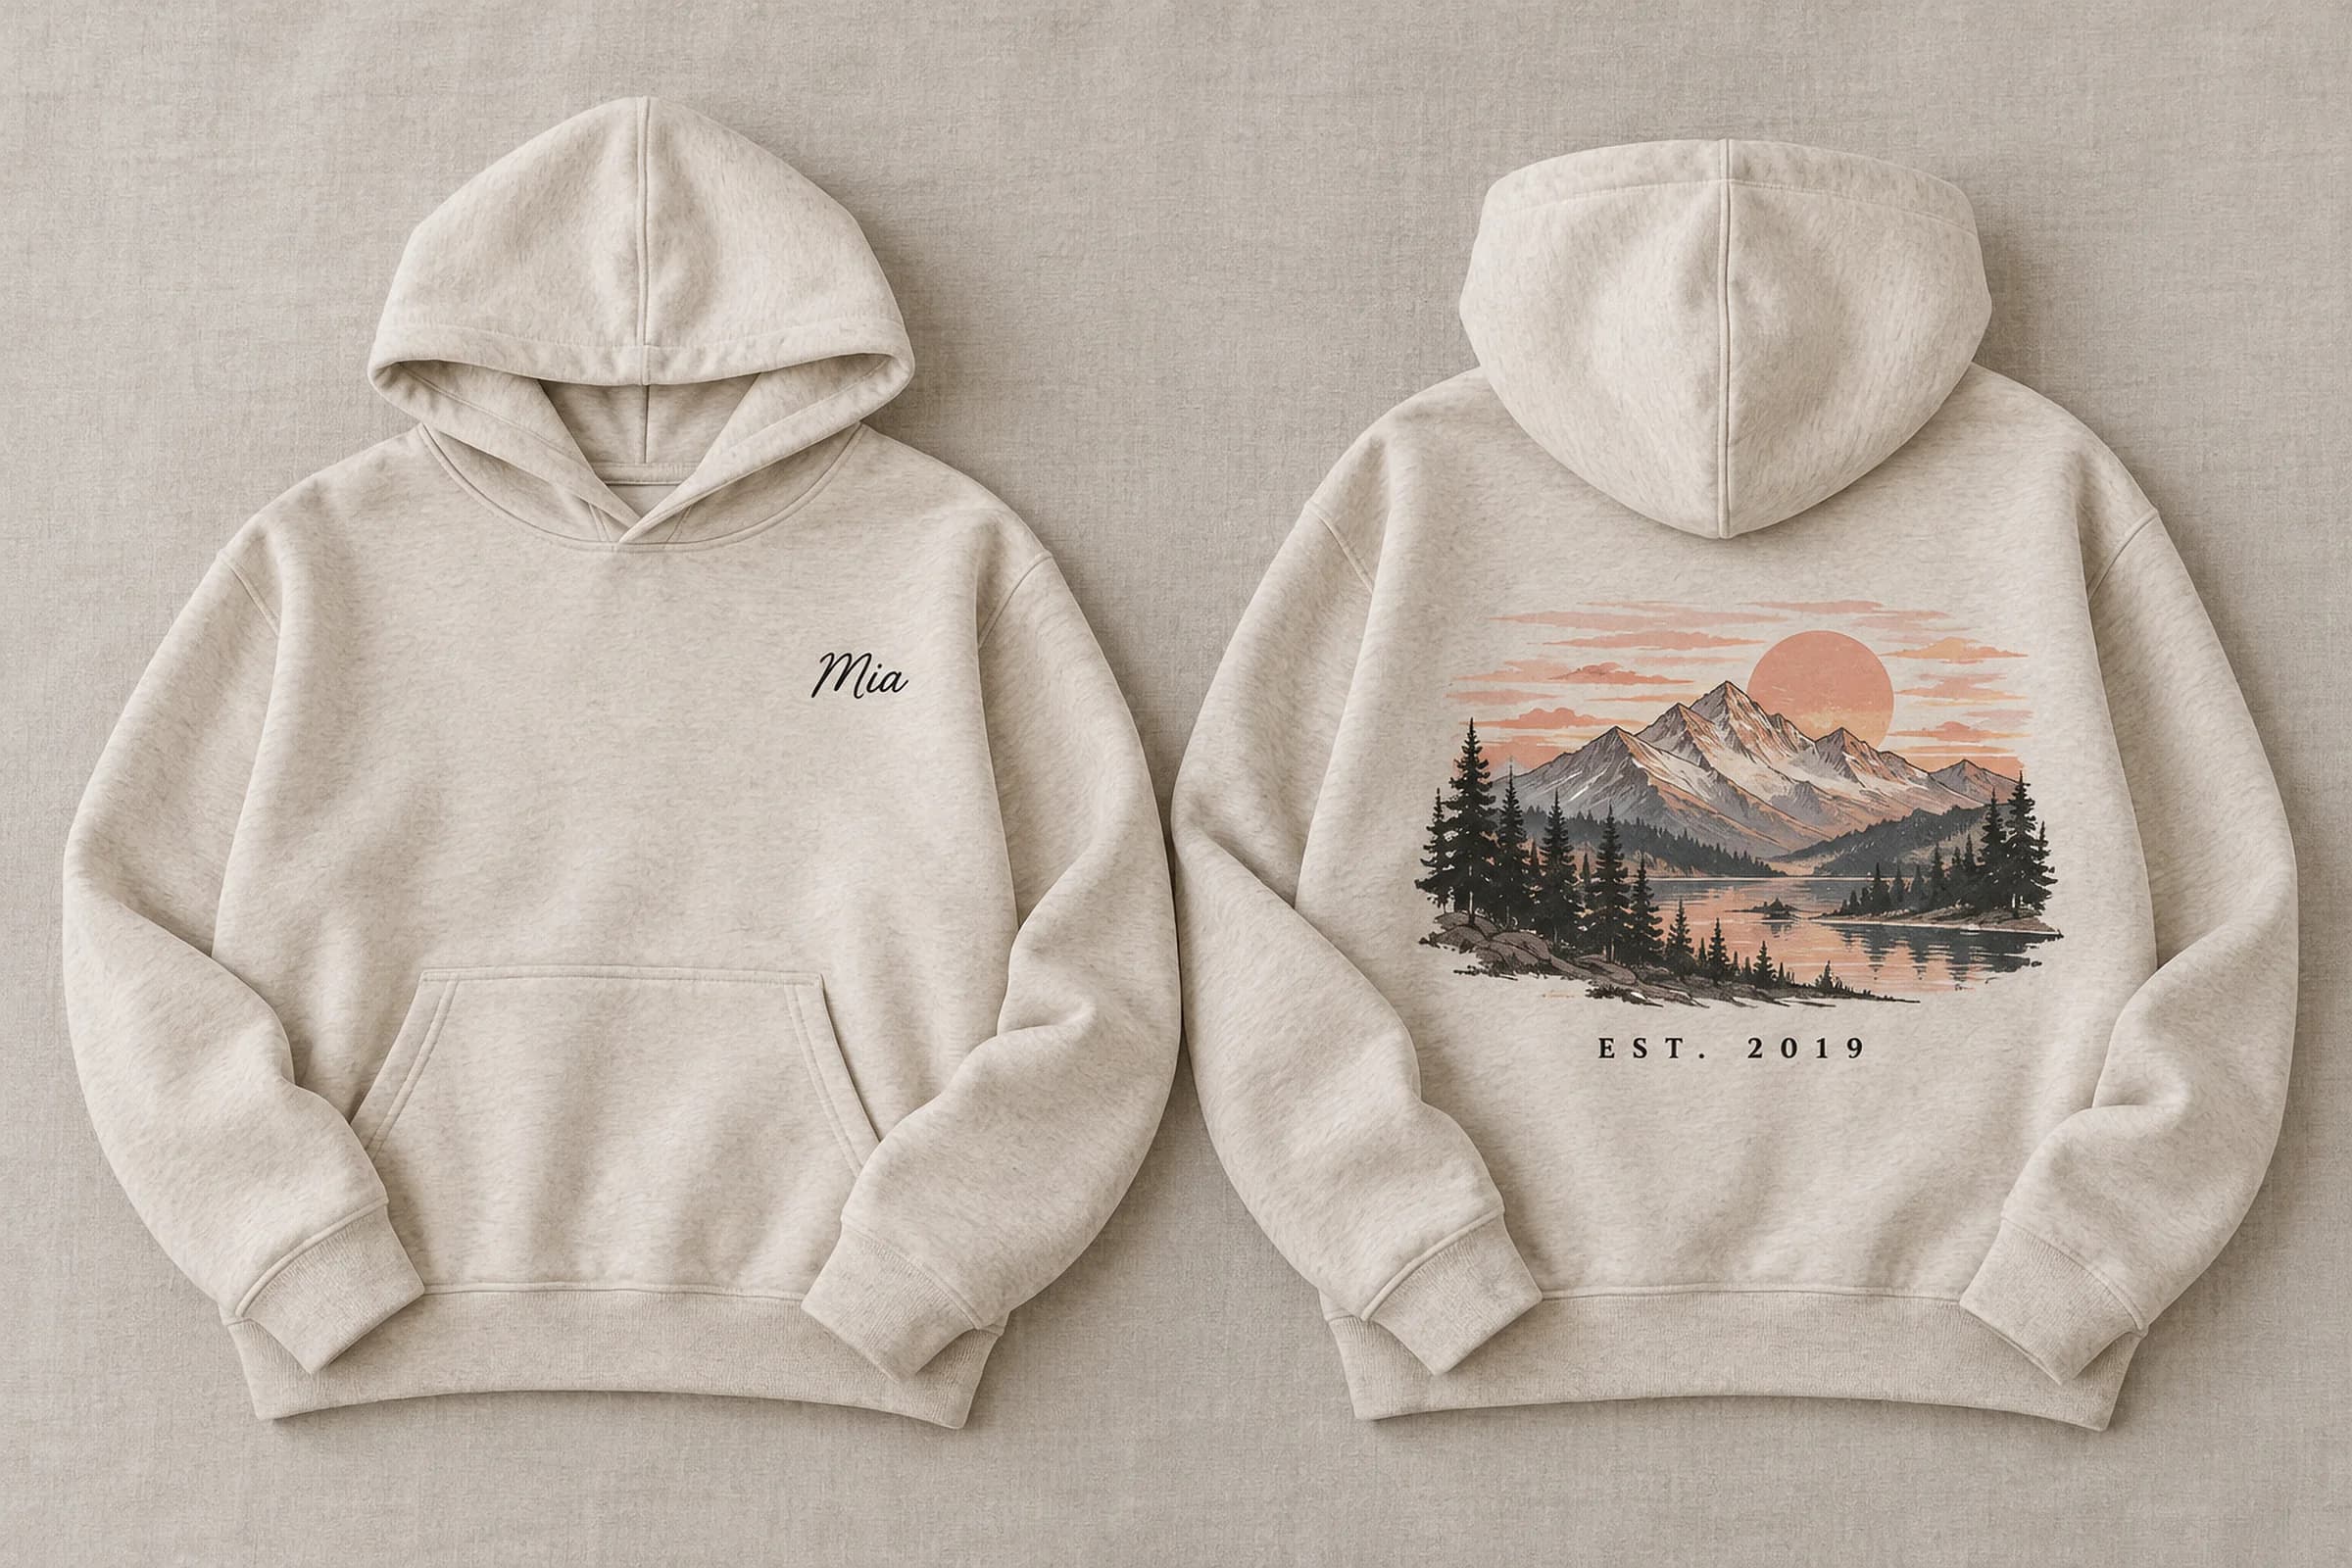
- Add a print file for the back or a sleeve, at its own size. Each side arrives as its own file on the order, and an option can decide which sides get printed, so a back print can cost extra.
- Your garment photos
- Upload your blank shirt photo, draw the print area on the chest, and turn on Follow the surface and Pick up shadows so the folds come through the ink. Add a second view for the back. Studio plan and up.
- A design per garment colour
- Each colour variant can switch to its own design template, so the black shirt shows your black photo and gets artwork made for a dark garment.
- Photos on shirts
- For pet portraits and family photos: set a minimum photo size, let shoppers crop, and offer background removal or face cut-out.
- Ready-made artwork
- Star maps, street maps, word clouds and crosswords, drawn from what the shopper types. Studio plan and up.
On finished products
- Size
- The size of the design, for example 14 × 16 in
- Files
- One per print side you add (front, back, sleeve), up to 12
- Format
- PNG, JPG, TIFF, PDF, EPS, AI or DXF
- Resolution
- Your choice. Up to 300 DPI on Maker, 600 on Studio and Atelier
- Colour
- RGB, or CMYK on PDF, EPS and AI
- Background
- Transparent on PNG and PDF in RGB
No white underbase, colour separations or bleed are added. Your printer handles those as they would for any artwork.
Not done for you
- One print area per product photo. A front and a back are two views, each with its own photo.
- The print area does not change by size. If XS and 3XL need different placements, use a template per size.
- There is no DTG versus screen-print preview, and no separations for screen printing.
- Uploaded photos are not checked by anyone before they are printed.
Apparel questions
Can customers upload their own photo onto a shirt?
Do front and back prints come as separate files?
Keep reading
Get started
Add apparel
personalization today.
Every new account starts with a 14-day free trial with Studio features. Nothing is charged until you pick a plan.